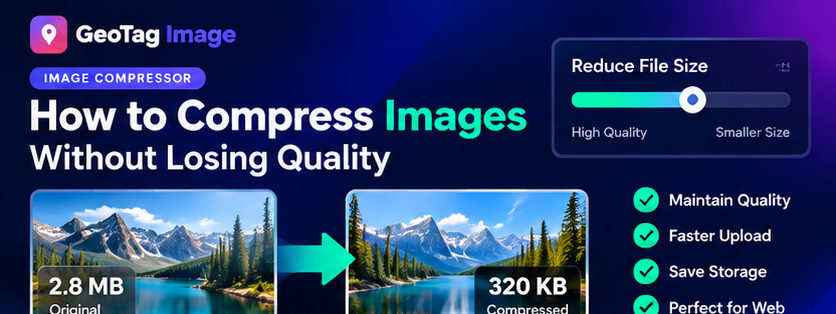
Large images slow down websites, make uploads harder, and waste storage. The goal of image compression is not to make a file as small as possible at any cost; it is to find the smallest file that still looks good at the size where people will actually see it.
GeoTagImage’s Image Compressor works in your browser, so the source image does not need to be sent to a remote compression API. You can choose JPG, PNG or WebP output, reduce dimensions, and tune quality before downloading the optimized copy.
Start With Dimensions Before Quality
A 5000-pixel-wide photo is unnecessary if the website only displays it at 1200 pixels. Reducing dimensions first often saves more bytes than aggressively lowering quality. For hero images, blog images and Google Business Profile photos, choose dimensions that match the real display use rather than keeping the original camera resolution.
Choose the Right Output Format
JPEG remains widely compatible for photographs. WebP is a strong web-delivery format when you want smaller files at useful visual quality. PNG is better when you need lossless graphics or transparency, but it may be much larger for photographs.
If you are unsure, compare WebP and JPEG at similar dimensions and inspect fine details such as text, hair, foliage, edges and gradients. Our Image Converter can help you create alternate versions.
A Practical Quality Range
For many photographic images, a quality setting around 80–88% is a practical starting point. There is no universal perfect number because the result depends on the source image, subject matter and output format. Images with smooth skies or gradients may show artifacts sooner than busy scenes.
Compress Before Uploading to WordPress
Compressing before upload can improve media-library efficiency and reduce the amount of work WordPress must do. Use descriptive filenames before upload, write useful alt text in WordPress, and keep the image relevant to the surrounding page content.
Recommended Workflow
- Resize the image to the largest size you actually need.
- Choose WebP or JPEG for photographic web content.
- Start near 85% quality and inspect the output.
- Compare the new file size with the original.
- Download the optimized version and use it on the intended page.
When location metadata matters for your own workflow, complete compression first and then verify the final file with the EXIF Checker. Conversion and re-encoding can change or remove metadata, so always inspect the final export rather than assuming every field was preserved.
Use Target Size When a Portal Has a Hard Limit
Some application forms, marketplaces and document portals do not simply ask for a “small image”; they specify a maximum such as 100 KB, 200 KB or 1 MB. In that situation, a normal quality slider can become trial and error. The updated compressor includes a Target Size mode with common presets. It searches for a useful encoder quality below the selected target and leaves a small safety margin so the exported file is less likely to be rejected by a strict upload validator.
Extremely small targets can require more than quality reduction. If a detailed photograph cannot reach the target cleanly, reduce its maximum width as well. Dimension reduction removes pixels the destination never needs, while excessive quality reduction can create visible blockiness, ringing and smeared detail.
Check the Final File, Not Only the Percentage Saved
A “70% smaller” result sounds impressive, but visual usefulness matters more than the percentage. Open the compressed preview and inspect important edges, text, faces, product details and gradients at the size your audience will actually see. If the image looks clean, the optimization is successful even if another setting could technically create a smaller file. If important detail is visibly damaged, increase quality or reduce dimensions less aggressively.
Compression, Metadata and Privacy
Browser re-encoding normally creates a new image and does not carry the original EXIF block into that new file. That can be useful when you want a clean web copy, but it also means you should not assume camera or GPS fields survived. If metadata is important, check the downloaded result with the EXIF Checker. When a verified publishing copy needs location metadata, add it to the final optimized image with the Geo Tag Image tool and verify once more.
Free and Paid Compression Limits
The free image compressor includes up to five successful compressed images per day, with a batch size of five. The Pro plan raises compression to 20 images per day and up to 20 images in one compressor batch. Premium supports 60 compressed images per day and up to 60 in a batch. Annual Unlimited removes the daily processing cap and supports larger working batches. Selecting files does not use the allowance; the count is applied when a compressed result is successfully produced.